Gmail Plug-in
Google recently updated its security policy, and Handy Backup is currently undergoing certification. As a result, the Gmail plugin may not function correctly; however, you can perform a Gmail backup using the Email plugin. We apologize for the inconvenience!
This dedicated easy-to-use plug-in backs up messages from the popular Gmail service. You can quickly backup and restore an entire account, a folder or as few as one single message by using this plug-in.
Plug-in Architecture
The "Gmail" plug-in utilizes both the IMAP mail transferring protocol and the Google Mail API, providing the stable and secured connections.
Organizing Backup Task
To set up the task with the Gmail plug-in, please follow the next instruction:
- Open Handy Backup and create a new task. Select a backup task on the Step 1.
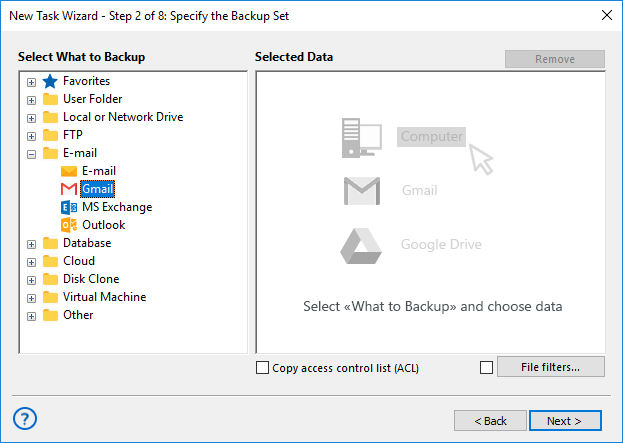
- On the Step 2, select the Gmail plug-in from "Email" group.

- Click onto the "Create a connection" string on the right pane.
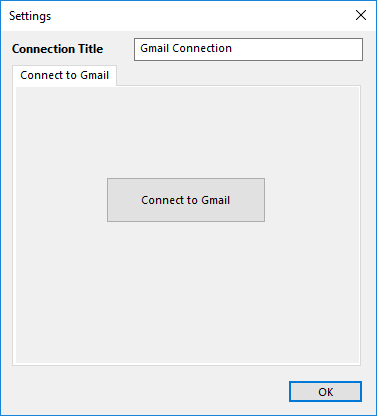
- In the next dialog window, give a name for your particular Gmail backup configuration.

- Click to the "Connect to Gmail" button.
Caveat! To connect Gmail successfully, you must open any browser manually and authorize on the mail login page before clicking "Connect to Gmail" button in Handy Backup!
- You will see a web browser window with a Gmail login page opened.
- Enter to your Gmail account through the Web interface as usual.
- Do not forget to allow Handy Backup accessing your Gmail account when Google will ask you this question.
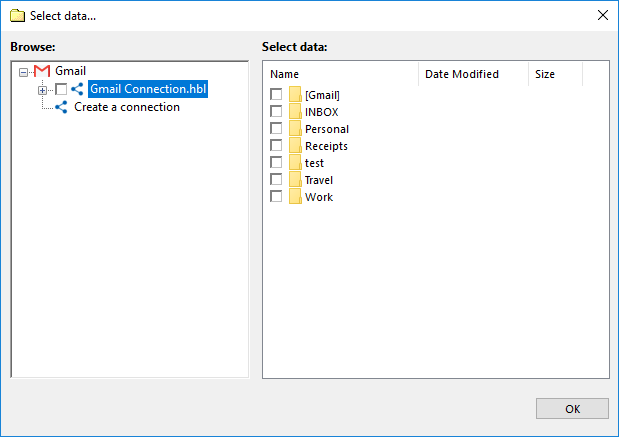
- Now dooble-click onto your new configuration name in the plug-in window. This will open you an access to the Gmail account.

- Mark the checkboxes against the names of data from your account to back up.
Note: You can select separate messages or entire folders. To browse folders for the messages you need, use "+" and "-" symbols to expand or hide the folder content.
- After finishing, click OK and return to the Step 2.
- Now you may add another data to your backup task; then proceed to next steps.
- All next steps are unspecific to Gmail backup. Please read the User Manual for learning these steps in details.
Restoring Emails from Backup
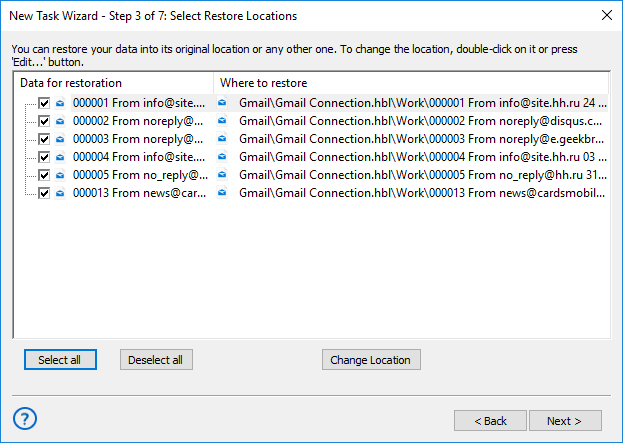
You can also use the Gmail plug-in for automatic message restoration. To do it, create a restoration task on the Step 1 of the new task wizard. Then on the Step 2, select a backup storage containing your Gmail data and find the file called backup.hbi, which provides the program all data about Gmail backup.

An advice: You can also browse your Gmail backup dataset without complete restoration, to find and read/process any uncompressed, unencrypted message (Handy Backup stores backups in clearly readable native data formats). In addition, you can restore separate messages instead of full recovery.
Duplicating or Moving Gmail Messages
Due to native email format of all messages backed up by Gmail, you can restore the Gmail backup content not only to its original location, but also to another Gmail account by using the same "Gmail" plug-in, or even to another web server that supports the same "EML" message format as Gmail.
Gmail Backup and Migration: Video Tutorial
In this video, we will show how to migrate your emails from Google Mail to Yahoo!Mail, using Handy Backup as automated Gmail backup tool. It is a straightforward, convenient process, which can take only a few minutes to set up and run. Please see how to make Gmail backup tasks and flexible recovery!